Healthy Eating & Diets · October 6, 2026 · 11 min read
Green Bean Puree Made Simple in Your Thermomix TM7
You know the moment. The green beans are softened, the kitchen's a little steamy, and you're trying to turn a pile of vegetables into something your baby, your partner, or your own tired dinner plate will accept.
On this page
You know the moment. The green beans are softened, the kitchen's a little steamy, and you're trying to turn a pile of vegetables into something your baby, your partner, or your own tired dinner plate will accept. I've been there in plenty of family kitchens here in Las Vegas, and I'm going to say the quiet part out loud, a separate pot, a colander, and a blender all fighting for counter space make green bean puree more annoying than it should be.
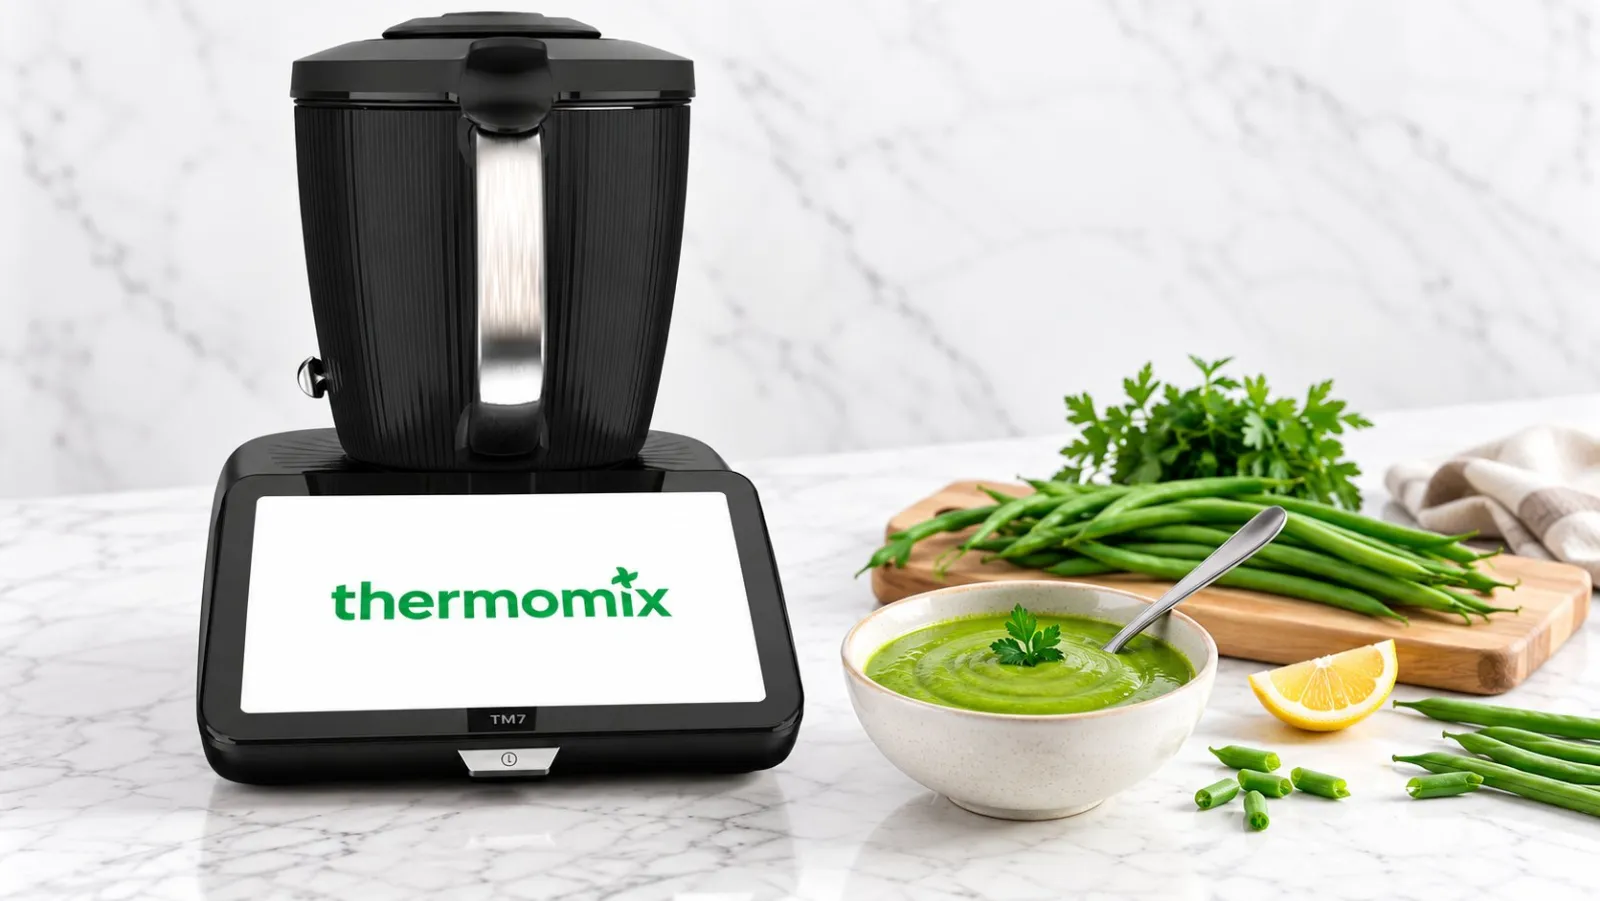
The Thermomix TM7 fixes that. It cooks and blends in one bowl, so the beans stay under control instead of getting fussy, overdone, or washed out. That matters because plain green bean puree is naturally nutritionally dense in volume but relatively low in energy, and the final result depends on the beans plus whatever else you add. Raw green beans are about 90% water, which is why a smooth puree can look generous without being heavy, and why the texture matters as much as the flavor. Green bean nutrition basics are a useful starting point, but the finished bowl is all about technique.
I'm not a chef, I just cook for real families all week, and this is one of those recipes that rewards calm, exact timing. The TM7 gives you that without babysitting a stove. Thermomix? It's a chef... I'm not!
Why I Make Green Bean Puree in the Thermomix TM7
I usually meet this recipe in the middle of a real-life scramble. Someone has a baby on one hip, a side dish waiting for dinner, or a fridge full of green beans that need to become something useful before they turn limp in the drawer. That's when the one-bowl TM7 method earns its keep, because the machine handles the heat and the blending without making me transfer hot beans from one vessel to another.
One bowl changes the whole job
Green bean puree works best when the beans are softened just enough, then blended while they're still warm. The TM7 does that cleanly, and it keeps the process contained inside the stainless-steel bowl with integrated heating and temperature sensors. For this recipe, that means less mess, less lost color, and fewer chances to overcook the beans while you're rushing around the kitchen.
I've seen the difference in family cooking. When people try to do this in separate steps, the beans often sit too long, lose color, or get watered down during transfer. In the TM7, the puree stays where it belongs, and the texture is easier to control because the machine can move from cooking to blending without a reset.
Practical rule: if the beans are cooked, blended, and served from the same bowl, you're far less likely to lose that fresh grassy flavor that makes green bean puree worth making in the first place.
That's the actual payoff here. You get a puree that tastes like green beans, not like regret and dishwashing. The rest of this recipe is just me showing you the exact TM7 numbers that make that happen for baby food, a spoonable side, or a looser soup base.
Ingredients and Prep Before You Start the TM7
Use about 1 lb (500 g) fresh green beans, washed, topped, and tailed, then cut them into pieces of about ¾ inch so they cook evenly in the bowl. Add ¾ cup plus 1 tbsp (200 g) water, 1 teaspoon salt, and 1 tablespoon lemon juice. That lemon juice matters because it helps keep the puree brighter instead of drifting toward a dull olive tone.
Fresh or frozen beans both work
Frozen beans are fine when fresh ones aren't happening. If you use them, skip thawing, reduce the water to ⅔ cup (150 g), and add 2 minutes to the cook time. I like that option on busy weeks because it keeps the process simple, and simple usually wins at 5 p.m.
For richer flavor, swap about ¼ cup (50 g) of the water with chicken or vegetable stock, or add 1 peeled garlic clove if you want a more savory side dish. If you plan to finish the puree with butter or dairy later, let it cool to about 140°F before stirring in anything cold.
Keep the lid, measuring cup, and any accessory you plan to use within reach before you start. Nothing is more annoying than stopping mid-recipe to hunt for a part that should've been right there.
Ingredient Prep at a Glance | Fresh Beans | Frozen Beans | Notes |
|---|---|---|---|
Green beans | 1 lb (500 g) | 1 lb (500 g) | Trim and cut into ¾ inch pieces |
Water | ¾ cup plus 1 tbsp (200 g) | ⅔ cup (150 g) | Frozen beans need less liquid |
Salt | 1 teaspoon | 1 teaspoon | Skip for baby food if needed |
Lemon juice | 1 tablespoon | 1 tablespoon | Helps keep color brighter |
Optional stock | ¼ cup (50 g) replacement | ¼ cup (50 g) replacement | Good for a savory side |
Optional garlic | 1 clove | 1 clove | Best for adult servings |
Cooking and Blending Green Beans in the TM7 Bowl
Put the beans, water, salt, and lemon juice into the TM7 bowl, insert the measuring cup, and cook 12 min / 212°F / speed 1. That gives you tender beans without smashing them to pieces before blending begins. If the mixture looks a little loose after cooking, that's fine, because some liquid is useful for the first blend.
If you want a thicker puree, drain a little of the excess liquid into the simmering basket. Save it, though. That cooking liquid is your best adjustment tool, especially when you want to loosen the texture later without diluting flavor too much.
Blend in stages, not all at once
Start at speed 4 for 10 seconds to break up the fibers. Then move to speed 6 for 20 seconds for a spoonable texture, or go to speed 8 for 30 seconds if you want something smoother for baby food. For the silkiest finish, keep blending in short bursts rather than one endless run, because that gives you a better sense of where the texture is heading.
If the puree seems too thick, add the reserved cooking liquid 1 tablespoon at a time through the lid and blend for a few seconds between additions. That's the cleanest way to adjust consistency without overwatering the bowl. If you want a slightly more rustic side dish, the reverse blade option can help keep the mix from getting too aggressively cut while still finishing smooth enough for a plate.
Don't add cold butter, cream, or cheese while the puree is blazing hot. Let the mixture cool below 140°F first, or temper the dairy separately before folding it in. That one step saves you from grainy texture and broken sauce, which nobody needs at dinner.
Choosing Smooth, Spoonable, or Soup Textures
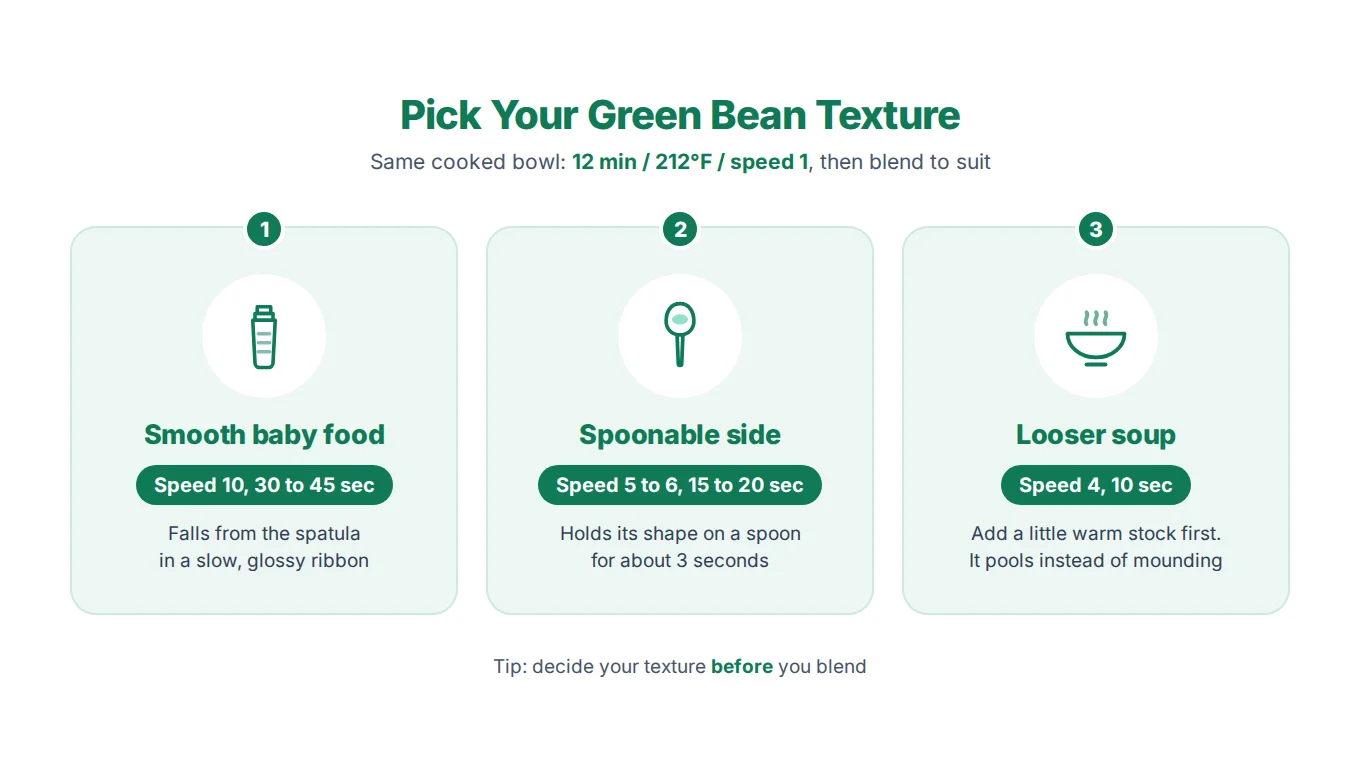
The same cooked bowl can go in three useful directions, but only if you choose the target before you start blending. Baby food wants total smoothness, side dish puree needs body, and soup wants enough looseness to pour without collapsing into water. If you wait until the end to decide, you'll usually chase texture with too much liquid.
Pick the texture first
For smooth baby-food texture, blend at speed 10 for 30 to 45 seconds, then push the puree through a fine mesh sieve if you need to catch any stringy bits. The finish should fall in a slow ribbon from the spatula and look glossy rather than grainy. That's the version I'd serve when the goal is a swallowable first puree.
For a spoonable side-dish texture, stop around speed 5 to 6 for 15 to 20 seconds. You want it to hold its shape on a spoon for about 3 seconds, then spread easily on a plate. That texture works well when green beans are supporting the rest of the meal instead of acting like baby food.
For looser soup texture, add ½ to ¾ cup (100 to 200 g) extra warm stock or cooking water, then run speed 4 for 10 seconds. It should pool rather than mound. I always tell families to think about the final plate or bowl before blending, because re-thickening a too-thin puree costs you flavor.
Green Bean Puree Texture Targets at a Glance | TM7 Speed and Time | Water or Stock Adjustment | Visual Trigger |
|---|---|---|---|
Smooth baby food | Speed 10 for 30 to 45 seconds | Usually none, sieve if needed | Falls in a slow ribbon |
Spoonable side dish | Speed 5 to 6 for 15 to 20 seconds | Add liquid only if needed | Holds shape for 3 seconds |
Looser soup | Speed 4 for 10 seconds | Add ½ to ¾ cup (100 to 200 g) warm liquid | Pools instead of mounding |
Seasoning and Serving Ideas
Green bean puree tastes best when the seasoning stays in the background and lets the vegetable stay green, clean, and lightly sweet. Lemon zest plus a small squeeze of juice brightens the flavor without covering it up. That's especially helpful when the beans are serving as a side instead of a baby puree.
Keep the finish simple
For adult servings, one peeled garlic clove in the bowl gives the puree warmth without turning it into garlic paste. If you want silkier texture for a holiday plate, fold in a little unsalted butter after the puree cools below 140°F. Stock is another smart move, especially when you're turning the puree into a soup base and want more savory depth.
For babies, skip the salt and keep the flavor gentle. A little olive oil can add calories and help the puree feel smoother on the spoon, but there's no need to hide the bean flavor under cheese or heavy cream. I'd rather taste green beans in a green bean puree, shocking concept, I know.
I use this puree with roast chicken, seared fish, or grilled lamb, and it also folds nicely into risotto near the end so it keeps its color and stays soft rather than disappearing.
Strong cheeses and big spice blends usually bury the fresh bean note, which is the whole point of making this in the first place. Let the vegetable stay recognizable, and the whole plate gets cleaner and better.
Freezing, Reheating and Batch Prep
Portion the puree while it's still warm into ice cube trays or 4 to 5 oz (100 to 150 g) jars, and leave about ½ inch headspace for expansion. Cool it quickly in the fridge for no more than 2 hours, then move it to the freezer. That quick handoff protects both texture and flavor better than leaving a big bowl to sit around while dinner gets cold.
Freezing changes texture, so portion for the job
For best results, thaw overnight in the fridge. If you want to reheat in the TM7, use 176°F, speed 2 for 3 to 4 minutes with a splash of water. For baby food, thaw a single cube at a time in a warm water bath so you're not warming more than you need.
Expect the color to shift a little toward olive green after freezing. That's oxidation, not spoilage, and it happens even when the puree is perfectly safe. The bigger texture problems usually come from slow freezing, oversized containers, or repeated thawing and refreezing, not from the beans themselves.
Storage Approach | Best Use | Thawing Method | Texture Result |
|---|---|---|---|
Ice cube trays | Baby food portions | Warm water bath | Small, quick-served cubes |
4 to 5 oz (100 to 150 g) jars | Side dish or soup base | Overnight in fridge | Easy to reheat in batches |
Shallow bags | Larger family prep | Overnight or direct reheating | Good if flattened before freezing |
Do not refreeze a portion that has already thawed. Keep the workflow simple, label the texture target on the bag, and you'll be far happier with the result a week later.
Quick Recap
For a reliable TM7 batch, start with 1 lb (500 g) green beans, ¾ cup plus 1 tbsp (200 g) water, 1 teaspoon salt, and 1 tablespoon lemon juice. Cook for 12 min / 212°F / speed 1, then pause briefly before blending. Begin at speed 4 and increase only until the puree matches your target, whether that is smooth baby food, a spoonable side, or a looser soup base. Let the mixture cool below 140°F before adding dairy.
The mistakes I see most often
Overfilling the TM7 bowl makes steam and heat move unevenly. The beans may soften at different rates, leaving rough pockets beside watery puree. Keep the batch within the stated amount, and give it a resting minute before blending. That short pause reduces splatter and makes the first blend safer to control.
Use warm liquid when thinning. Cold water drops the bowl temperature quickly, so it becomes harder to judge the final consistency and warming time. Stop cooking around the planned 12 minutes, and avoid pushing much beyond 14 minutes, because the beans lose their fresh color and the puree can taste flatter.
Season lightly at first. Heavy cheese or a strong spice blend can cover the green bean flavor, especially in baby food. Add more only after checking the texture and tasting the portion you plan to serve.
The practical rule is simple: lock the TM7 time and temperature first, then adjust speed and liquid for the texture. Label frozen portions by use, such as baby food, side dish, or soup, so reheating does not undo the consistency you prepared.
If you'd like to make this recipe live with a real TM7 walkthrough, ask questions, and see how it fits your kitchen before you buy, I'd love to help through IT'S A CHEF!. I offer demos and onboarding for families who want practical Thermomix help, not sales fluff, and this puree is one of the easiest places to start.