Healthy Eating & Diets · November 5, 2026 · 12 min read
Baby Food Maker Guide: Features, Safety and Recipes
You're standing in the kitchen with a hungry baby on one hip, sweet potatoes on the counter, and about ten free minutes before someone starts crying again. I'm Prinal Glassman, and my honest rule is this.
On this page
You're standing in the kitchen with a hungry baby on one hip, sweet potatoes on the counter, and about ten free minutes before someone starts crying again. I'm Prinal Glassman, and my honest rule is this. A baby food maker helps with the cooking and blending. You still make the safety, texture, and storage calls.
What a Baby Food Maker Does for Your Family
Say it's 7 a.m., your baby wants breakfast now, and you have sweet potatoes but no free hands to juggle separate tools for cooking and mashing. That's the exact moment this machine earns counter space. A baby food maker is a countertop helper that cooks, steams, and blends soft food in one place.
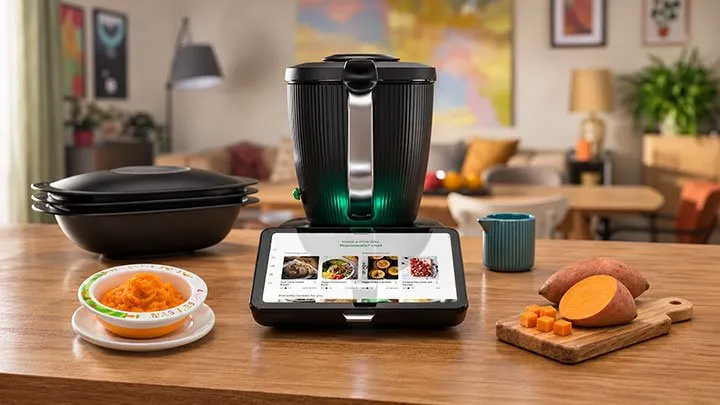
It does three jobs. First, it softens ingredients until tender so they mash easily. Second, it reduces food to a texture your baby can manage, from smooth purée to a thicker mash. Third, it holds the batch in one vessel so you can spoon it straight into storage containers.
Think Swiss Army knife, not magic wand
A Swiss Army knife is useful because you pick the blade you need. Same here. Dedicated steam and blend units do one job for one stage of life. Multi-function cookers that add steaming cover more family meals. All-in-one kitchen machines also chop, slice, grate, mix, knead, cook, and steam, so they keep working long after purée season ends.
The machine doesn't make food safe on its own, and it doesn't pick the right texture for your child. Those two decisions stay with you.
So decide first. Do you want a small dedicated gadget you'll use for a few months, or one machine that feeds the baby and the rest of the family? Carry that answer into the feature checklist below and you'll shop much faster, with far less second-guessing at midnight.
Features to Check Before You Buy
Shop in the order you'll really use the machine. Cooking comes first, texture second, and cleaning matters every single day. Here's the checklist I'd run through before spending a dollar.
Baby food maker features and what to check
Feature | Why It Matters | What to Check |
|---|---|---|
Cooking method | Soft food in one appliance | Steaming and blending in one vessel |
Texture control | Moves from smooth purée to mashed | Speed or time settings you can adjust |
Bowl capacity | Sets the batch size | About 9 cups (2.2 L) for a family batch |
Cleaning | Lowers contamination risk between batches | Removable blades and lids that rinse or go in the dishwasher |
Portion storage | Makes small, labeled portions possible | Compatible ice-cube trays or small airtight containers |
Recipe guidance | Reduces guesswork on time and heat | Built-in or app recipes with time, temperature and speed |
How to test each row
Cooking method matters because steaming and blending in one vessel removes transfers between separate appliances. Fewer transfers means fewer chances to spill hot food or introduce contamination from another surface. If you have to move half-cooked food elsewhere to blend it, that's extra work at the worst moment.
Texture control is next. You need speed or time settings you can adjust yourself, not one mystery button. A short blend keeps a mash. A longer blend at higher speed gives a smooth purée. That range is what lets the same machine follow your baby from first tastes to lumpier meals.
Bowl capacity sets your batch size. About 9 cups (2.2 L) makes a family batch with spare portions for the freezer. A smaller bowl suits a single baby household that cooks fresh more often, but you'll run more batches. Be honest about which parent you are on a tired Tuesday.
Cleaning is where good intentions die. Look for removable blades and lids that rinse easily or go in the dishwasher. Parts you can't take apart trap old food, and trapped old food is a contamination risk between batches.
Portion storage and recipe guidance finish the job. Compatible ice-cube trays or small airtight containers turn one batch into labeled single servings. Built-in or app recipes that give time, temperature, and speed remove the guesswork, so you're following steps instead of inventing them.
Three deal-breakers
No texture control: If you can't adjust speed or time, walk away. Your baby's needs will change and the machine won't.
Parts you can't clean properly: Fixed blades and sealed crevices you can't reach are a hard no.
Steam settings you can't verify: You should be able to confirm time and temperature, not trust a vague preset.
Before you buy, answer three questions. How many meals do you want per batch? How many babies are in the home? How often will you realistically clean it? If your answers point to big batches, multiple kids, and daily cleaning, size and easy disassembly outrank everything else.
Storage Times and Safe Cooling for Homemade Baby Food
A warm purée can smell perfect and still be the wrong call by tomorrow. Cooking does not make food shelf-stable, and that principle drives every choice after the machine stops. The FDA guidance on food safety after baby arrives lists homemade baby foods at 1 to 2 days in the refrigerator and 3 to 4 months in the freezer, with meat based foods getting the shortest windows.
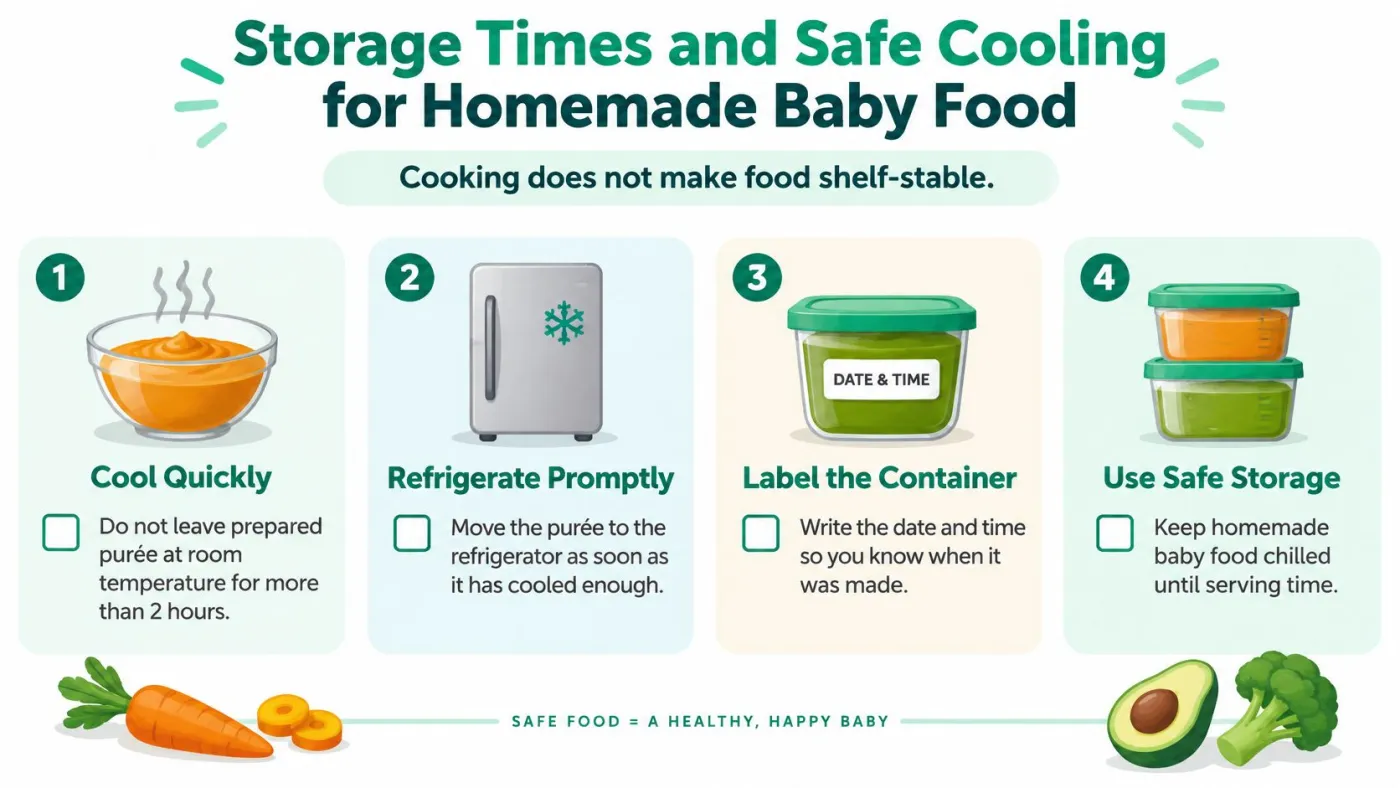
Start with the two-hour rule. Prepared purée should not sit at room temperature longer than 2 hours, because bacterial growth speeds up while food waits. Move it into shallow, airtight containers and refrigerate at 40°F or lower. Shallow containers chill faster than one deep tub, and faster chilling is safer chilling.
The FDA guide to safely storing baby food gives these typical refrigerator and freezer limits:
Refrigerator and freezer limits for homemade baby food
Food Type | Refrigerator | Freezer |
|---|---|---|
Strained fruits and vegetables | 2 to 3 days | 6 to 8 months |
Strained meats and eggs | 1 day | 1 to 2 months |
Meat and vegetable combinations | 1 to 2 days | 1 to 2 months |
Homemade baby foods overall | 1 to 2 days | 3 to 4 months |
Freezing in portions you can trace
Spoon purée into ice-cube trays, cover them, and write the date before they go in the freezer. Once frozen, move the portions into airtight packaging and leave a little space for expansion. Small cubes thaw quickly, and you only warm what you will serve.
Every batch label needs three things: food name, date you made it, and portion size. That label is your memory on a sleep deprived morning. Do not trust yourself to know which orange cube is sweet potato and which is carrot from last month.
Reheating and thawing without guesswork
Stir reheated food well, let it stand a moment, and test it before serving. It should feel lukewarm, never hot, because stirring removes hot spots that can burn a small mouth. Taste it yourself on a clean spoon if you are unsure.
Thaw frozen portions in the refrigerator, under cold running water, or during the reheating step. Never thaw on the counter. Keep this rule simple: thawed food that was not eaten gets discarded, not refrozen.
When advice differs, choose the shorter limit. The table already puts meat, eggs, and mixed meals on the fastest clock, so use those rows when you hesitate.
This is the split that matters: the machine cooks and blends, while you still own cooling speed, container depth, labeling, and the decision to toss. Use the table as your labeling reference every batch. Food name, date, and portion size on every container, no exceptions. That habit turns a freezer full of mystery cubes into a system you can trust.
Matching Texture to Your Baby's Age
A purée at six months and a mash at ten months need different checks. The FDA page on introducing allergenic foods to infants explains that infants and young children should receive foods with a size, consistency, and shape that lets them eat and swallow easily, matched to their age and development. Serve the texture your baby can handle this month, then move forward.
Texture progression by age
Age | Typical Texture | Example Foods |
|---|---|---|
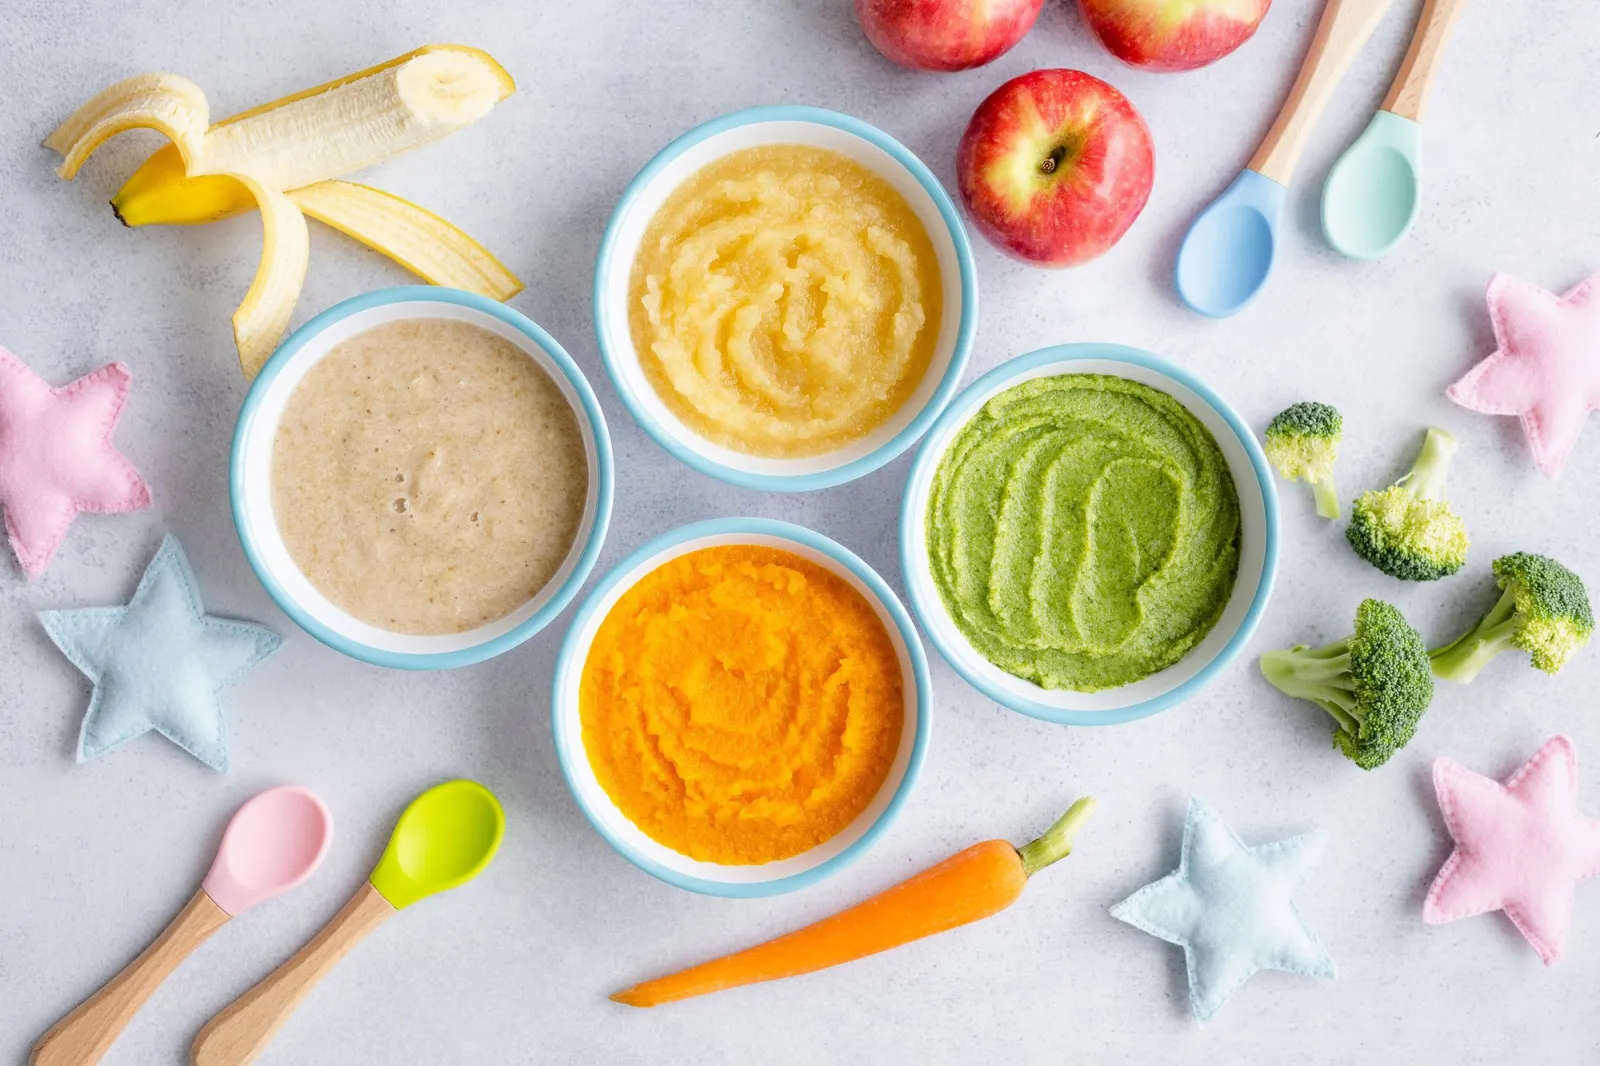
About 6 months | Smooth, thin purée | Pureed sweet potato, pear or avocado |
About 7 to 8 months | Thicker purée or mashed | Mashed banana, steamed carrot or oatmeal |
About 9 to 10 months | Mashed and lumpy, soft | Soft-cooked pasta, mashed lentils or flaked cooked fish |
About 10 to 12 months | Soft pieces the baby can pick up | Soft-cooked vegetable chunks or ripe fruit pieces |
Around six months, puréed, mashed, and semi-solid foods are the starting point, and variety grows as your child develops. Sweet potato and pear suit the smooth stages because they blend evenly and taste mild. Later, soft-cooked vegetable chunks give your baby something to practice picking up. The same texture logic carries into family cooking: the way you mash potatoes in a food processor shows how blade speed and time decide the final consistency.
Presets don't know your baby
A preset gives you a starting texture. Your child decides whether it's right. Press every batch with a clean spoon and it should squash flat, with no firm lumps hiding in the middle. A chunk that resists means blend a little longer or steam the next batch until the pieces are softer.
Keep the hazards out of the batch entirely. Whole, intact peanuts are a choking hazard, and the same caution applies to whole nuts, whole grapes, and hard raw carrots. Softened and correctly sized is the standard, every time.
One check before every serve: press the food flat with a spoon, feel it between clean fingers, and confirm the texture matches the right row in the table above. Ten seconds, every batch.
Watch your baby while eating. And talk to your pediatrician before changing textures or introducing new foods, because your child's development matters more than any chart, including this one.
How to Make a Sweet Potato Batch Step by Step
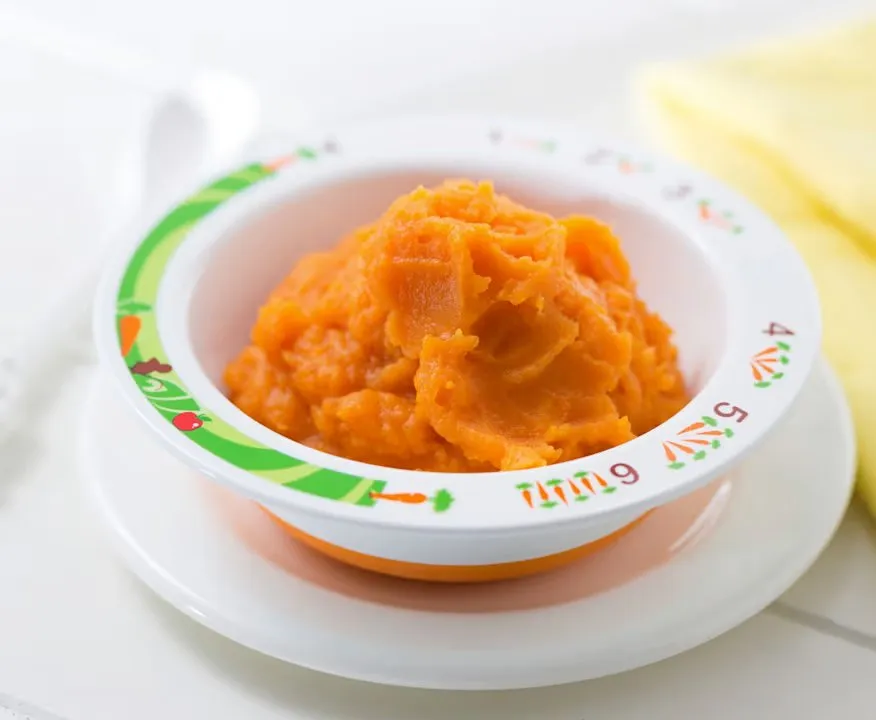
Sweet potato is the batch worth repeating until the routine feels automatic, in the best way. No salt. No sugar. Every step happens in the Thermomix TM7, which steams the cubes and blends the purée in the same bowl.
Ingredients
Sweet potato: 1 medium (about 6 ounces / 170 g), peeled and cut into 1 inch (2.5 cm) cubes
Water: ½ cup (120 g)
The timed steps
Wash and load: Wash your hands and the removable parts. Add ½ cup (120 g) water to the bowl, then add the cubes. Steam 15 min / 212°F / speed 1.
Check softness: Press a cube with a clean spoon. It should mash with light pressure. If it resists, steam 3 min / 212°F / speed 1 again.
Blend: Blend 30 sec / no heat / speed 5. Check for lumps. If needed, blend 15 sec / no heat / speed 7.
Adjust: Let it cool until lukewarm, and never serve it hot. If it's too thick, mix in plain water 1 tablespoon (15 g) at a time, 10 sec / no heat / speed 3.
Portion: Spoon the purée into a shallow, airtight container, or into ice-cube trays you cover, date, and label for freezing.
For cooling, refrigeration, and thawing, apply the storage timing rules from the section above to every portion you set aside. The covered ice-cube tray is my pick for this batch, because you thaw a few cubes at a time instead of committing a whole container to one meal.
Done right, you get a smooth, uniform purée with a bright orange color and no separated liquid pooling on top. Once this feels easy, the same workflow carries over to other vegetables, and my green bean purée recipe is a good next batch to try.
Using a Baby Food Maker for Early Allergen Foods
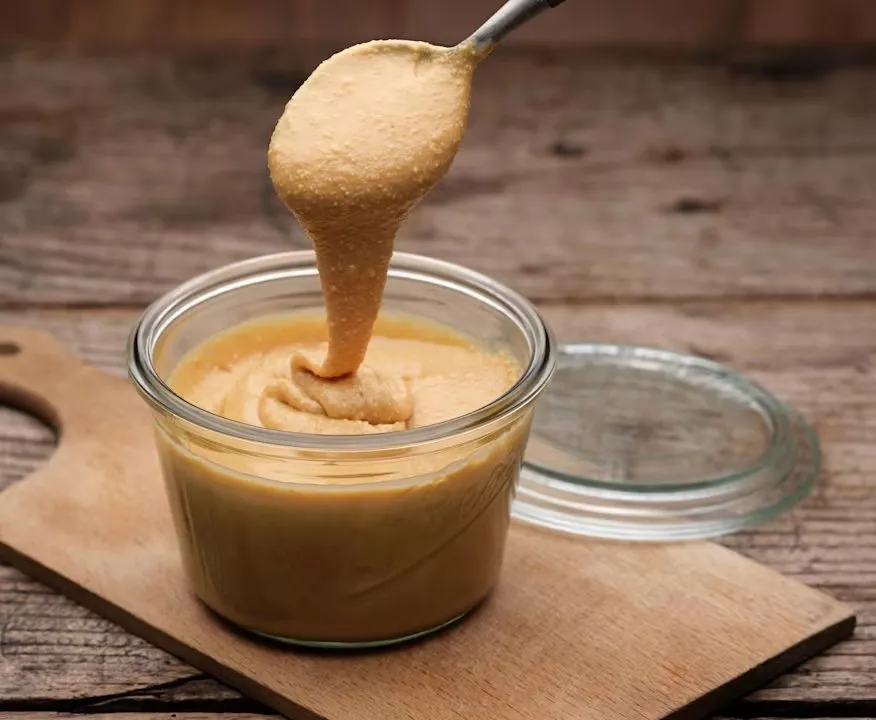
A baby food maker makes allergen introduction repeatable. Steam, blend, portion, and label, and you can serve the same small amount of egg or peanut butter the same way every time. That consistency is the value here, because introducing a new food is a routine, not a recipe.
Early introduction now has strong evidence behind it. A 2025 summary of an Australian prevention program found that direct family guidance moved egg introduction to about 6 months instead of about 10 months, and egg allergy at age one fell from 11.7% in children born in 2006 to 2014 to 2.8% in those born in 2016 to 2022. The guidance those families received supports starting common allergens such as egg and peanut once complementary feeding begins around six months, and it gives no reason to start earlier than that. Ask your pediatrician about timing early, and do not move ahead of the six-month mark on your own.
A practical routine
One at a time: Introduce one new allergen at a time so you can spot which food caused a reaction.
Start small: Offer a small amount first, in a thin purée your baby can already manage.
Keep it regular: Maintain a steady schedule so the food stays in the diet, not just a single taste.
Use forms your baby can handle. A thin peanut or egg containing purée suits early stages, blended smooth at 20 sec / no heat / speed 5 and checked for lumps before serving. Later, soft and well mixed textures work. Never serve whole nuts. Ever.
Clean carefully between batches. The mixing bowl is shared between recipes, so it must be cleaned thoroughly when cooking for allergies. Wash the bowl, blade, and lid before preparing allergen foods, and keep finished allergen batches labeled and separate from other foods in storage.
If your baby has eczema or other risk factors, get a clinician's advice before introduction. Timing and supervision matter even more for these babies.
Allergen prevalence varies by region, so a universal recipe list from the internet will not fit every family. Ask your pediatrician which foods make sense for yours, in which order, and how often. Then let the machine do what it does best: small, safe, repeatable portions, labeled clearly, made the same way every time.
Should You Buy a Machine and Book a Demo
I'm Prinal Glassman, an Independent Thermomix® Consultant in Las Vegas helping families across the USA, and I was a non-chef who could not cook before this machine changed that. Here is my honest take.
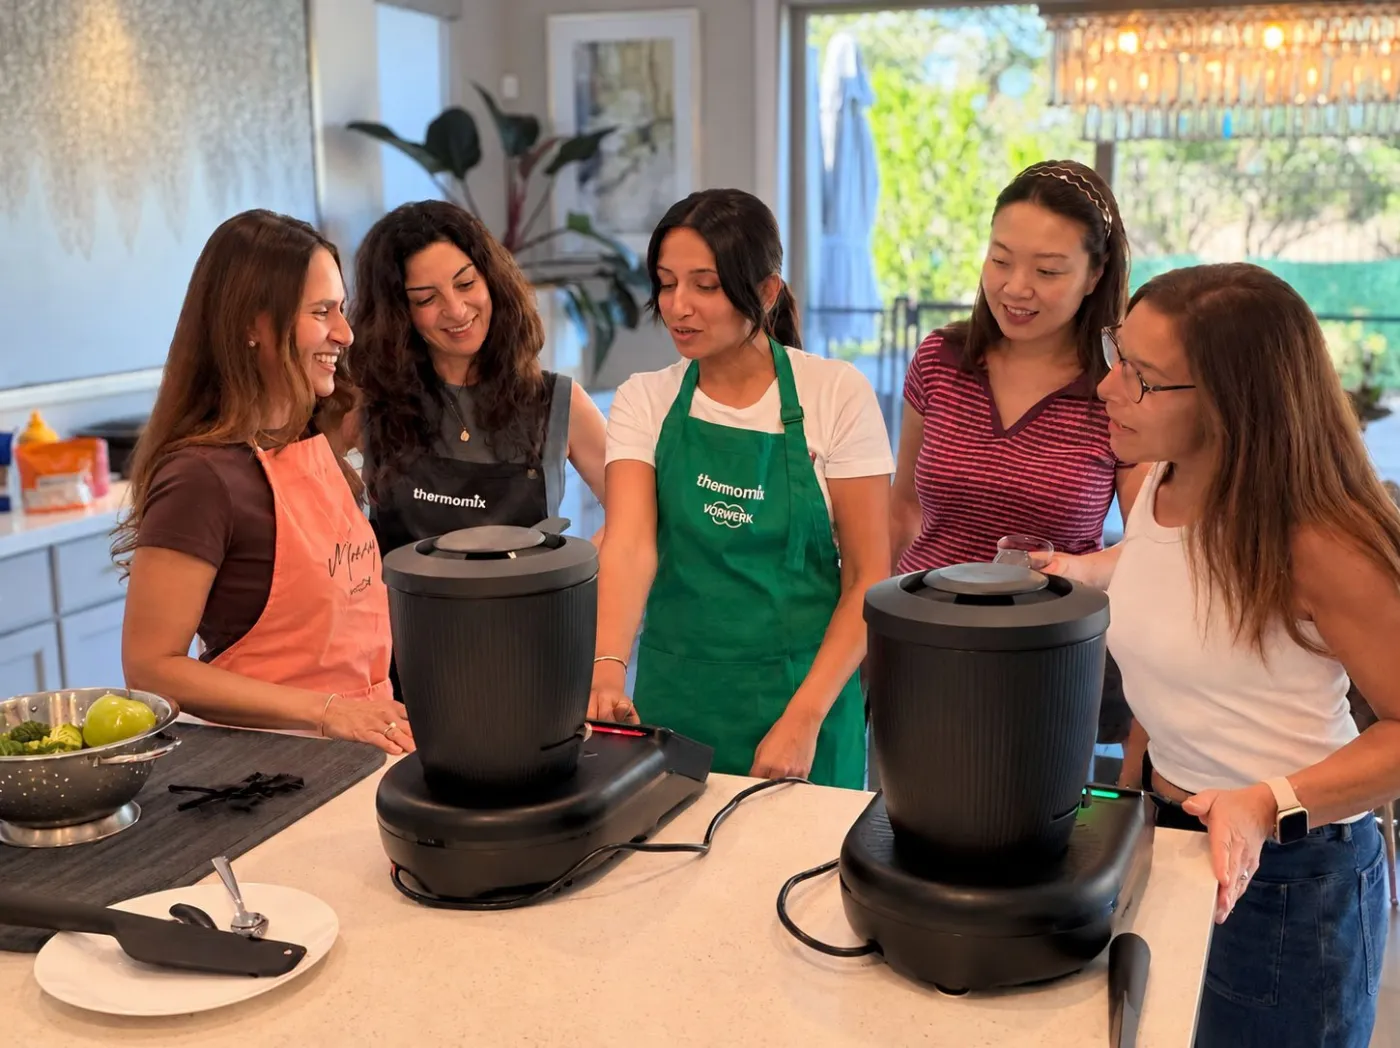
If your family cooks most nights and you want one appliance that makes purées now and full dinners for years after, the Thermomix® TM7™ earns its counter space. It weighs, chops, cooks, steams, and kneads in a single 2.2-liter bowl, and the touchscreen walks you through each step of a recipe on Cookidoo. Because you control every ingredient, the same machine handles plant based, gluten free, low carb, dairy free, and high protein cooking alongside baby food.
At $1,699, it deserves a real look before you commit. My recommendation is to book a demo before you buy, because a demo lets you see the machine run, taste the food it makes, and ask every question you have. Watch a sweet potato batch go from steaming to smooth purée, then judge the bowl cleaning and container routine with your own eyes.
Demos run in person in Las Vegas and by video call anywhere in the USA. After you buy, each machine purchased through IT'S A CHEF! comes with a free Welcome Service where I set it up with you, show you every feature, and cook the first meal together.
Start by reading about booking a free Thermomix demo in Las Vegas or by video, then arrange yours through the IT'S A CHEF! website. Bring your questions about batch sizes, storage containers, and cleaning, and decide based on what you watch rather than what a spec sheet promises.