Healthy Eating & Diets · October 17, 2026 · 10 min read
Pastry Gluten Free Recipe Made in the Thermomix
If you've ever stood in your kitchen with a bag of gluten-free flour, a stick of butter, and a tiny bit of dread, you're in good company. Pastry can feel like the one dessert that knows how to humble people, especially when you're trying to make it for someone who can't have gluten and everyone in the house is suddenly asking, "Will it hold together?"
On this page
If you've ever stood in your kitchen with a bag of gluten-free flour, a stick of butter, and a tiny bit of dread, you're in good company. Pastry can feel like the one dessert that knows how to humble people, especially when you're trying to make it for someone who can't have gluten and everyone in the house is suddenly asking, "Will it hold together?"
This pastry gluten free recipe keeps the moving parts simple, because pastry gets easier when you stop treating it like a mystery. The trick is a smart flour blend, a measured binder, the right hydration, and a celiac-safe workflow that doesn't leave you guessing. In my kitchen, that means letting the Thermomix® TM7™ do the mixing work, then letting the oven do the baking, because one appliance can keep the process calm and tidy when dough decides to act dramatic.
Why Gluten Free Pastry Feels Hard
Gluten-free pastry is one of those things that looks effortless in a photo and then behaves like a completely different food in real life. A wheat crust has gluten to help trap steam, stretch, and recover a little when you roll it. Gluten-free dough doesn't get that helpful elastic backbone, so every little choice, flour, fat, liquid, binder, resting time, shows up in the final crust.
That's why people often feel stuck before they even start. One batch cracks at the edges, another turns sticky and gummy, and another looks fine until it shrinks in the oven and leaves you with a sad little tart shell that could fit on a ring finger. Then there's the second layer of stress, the part nobody likes to talk about much, which is making pastry for someone with celiac disease and wondering if a shared counter or rolling pin ruined the whole effort.
What makes the TM7 approach different
The good news is that pastry doesn't need to be perfect to be successful. It needs a method you can repeat, and the TM7 helps with that because it keeps the dry blend even, handles the fat evenly, and lets you control hydration without making a flour cloud that lands on every cabinet in the room.
Practical rule: if the dough behaves badly, don't blame the recipe first. Check the flour blend, the binder, the liquid, and whether the dough had enough time to rest.
The rest of this article is built around that idea. You're not trying to memorize a dozen substitutions. You're building a system that makes a pastry dough rollable, bakeable, and safe enough to serve with confidence.
What Gluten Free Actually Means in Your Kitchen
The label matters here. In the United States, the FDA's voluntary gluten-free labeling rule says that a food labeled “gluten-free” must contain less than 20 parts per million, or less than 20 milligrams per kilogram of food FDA gluten-free labeling rule. The rule also excludes wheat, rye, barley, and their crossbreeds unless a gluten-containing derivative has been processed to remove gluten and the finished product still stays below that threshold.
That's more than a technical detail. It means a pastry recipe isn't just about flavor or texture, it's also about whether your ingredients and your kitchen setup match the standard you're claiming. The FDA's April 2024 update reported that more than 99.5% of sampled foods labeled gluten-free complied with the less-than-20-ppm requirement FDA sampling update, which makes labeled products a useful screen when contamination is a concern.
A smarter shopping habit
Here's the easiest way to shop without spiraling:
Choose labeled gluten-free when contamination is possible. A naturally gluten-free ingredient isn't always handled in a clean system.
Read every ingredient line. Watch for wheat, rye, barley, and their crossbreeds.
Treat shared-equipment or shared-facility language as a flag. It doesn't automatically mean unsafe, but it does mean you need to think about the eater, especially if celiac disease is involved.
Use the finished product standard. Gluten-free is about the food you serve, not just the raw ingredients you started with.
A good pastry starts with safer ingredients, but the label alone doesn't do the whole job. The kitchen still has to earn its keep.
Building a Pastry Flour Blend That Actually Works
A single gluten-free flour usually can't carry pastry on its own. Some flours bring body and flavor, some bring tenderness, and starches help with lightness and spread. When you combine them by weight instead of volume, you stop guessing and start building a dough that has a real chance of rolling cleanly and baking into something that tastes like pastry instead of a science project.
The blend behind the dough
For a basic short-crust style pastry, I like the logic of pairing a protein-containing flour such as rice, sorghum, or buckwheat with a starch such as tapioca or potato. That mix balances structure and tenderness better than a single flour ever will. A binder belongs in the dry mix too, but it has to be dispersed well first, because undispersed hydrocolloid can clump into gelatinous pockets and make the dough behave unevenly.
A practical starting point is about 0.3% to 0.4% xanthan gum based on total flour weight for a tender pastry. Broader gluten-free bakery work shows hydrocolloids can be effective across a wider range, but the right dose depends on the flour system and the kind of pastry you're making. In plain English, that means there isn't a magic number that fixes every dough.
Starter Flour Blend for Gluten Free Pastry | |||
|---|---|---|---|
Ingredient | Grams | US Measure | Role in the Blend |
Rice flour | 120 g | 1 cup | Structure and body |
Tapioca starch | 60 g | 1/2 cup | Tenderness and stretch |
Xanthan gum | 1 g | 1/4 tsp | Binding and cohesion |
Fine salt | 3 g | 1/2 tsp | Flavor balance |
Sugar | 15 g | 1 tbsp | Browning and mild sweetness |
If you want a deeper look at how a balanced flour blend supports a baked dough, this overview on pan de molde structure is a useful companion read.
Why weighing matters
A cup of flour can change a lot depending on how you scoop it. That's why pastry gets more reliable when you weigh ingredients. The dough can only be as consistent as the numbers behind it, and in gluten-free baking, consistency is the whole game.
Practical rule: mix the dry ingredients first, then weigh the binder with the same care you'd give the flour. A little discipline here saves a lot of “why is this sticky now?” later.
Making the Dough in the Thermomix TM7
With the dry mix ready, the TM7 does the rest in one bowl. That matters because gluten-free pastry rewards a controlled workflow, not a heroic wrist workout. Keep the butter cold, add the liquid in stages, and let the machine do the part where timing usually gets messy.
The TM7 method
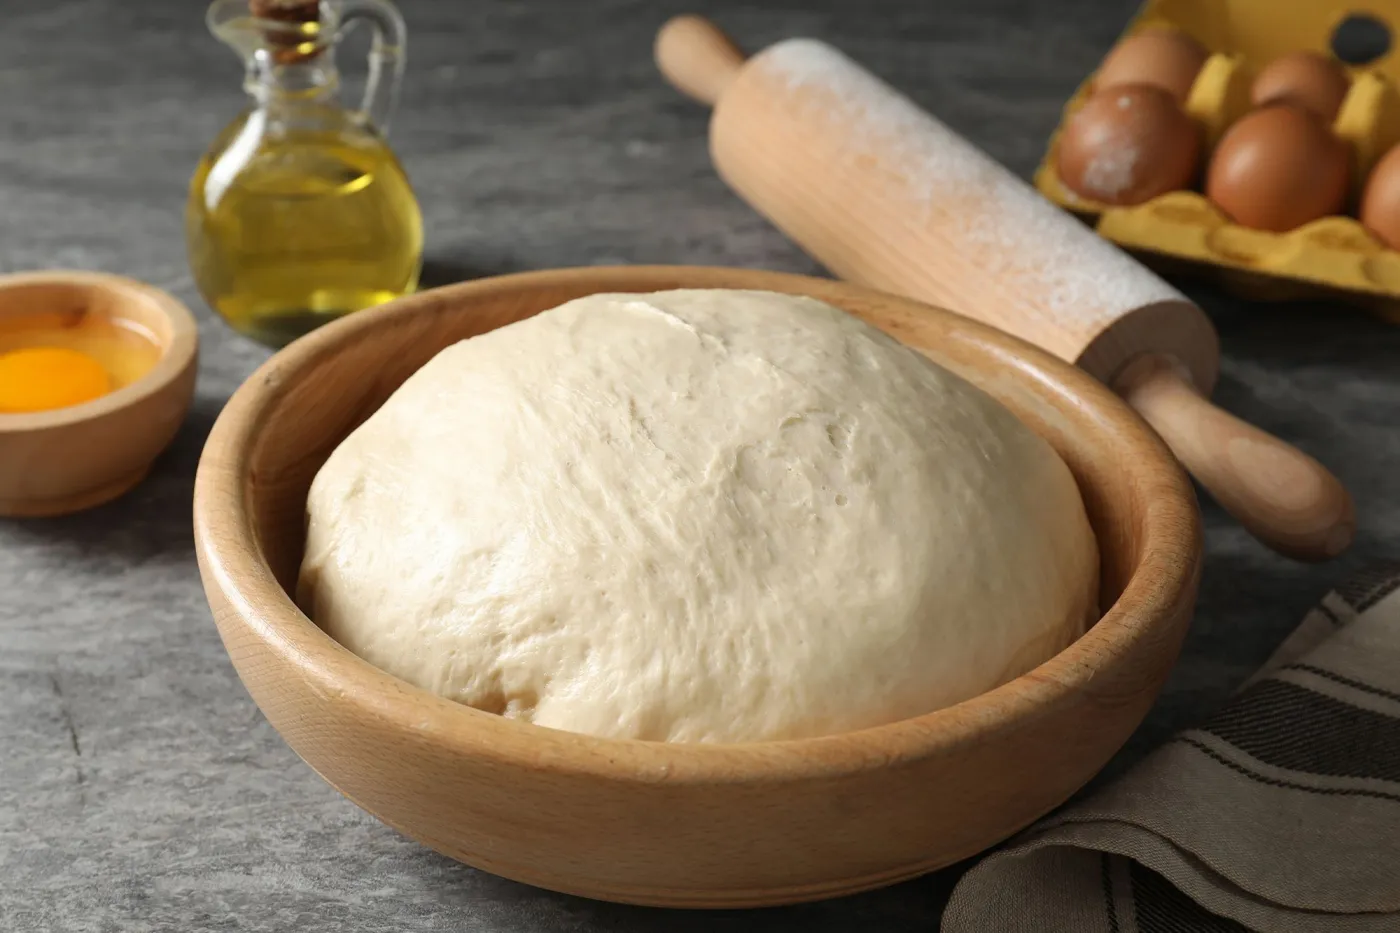
Combine the dry mix. Add the flour blend, xanthan gum, salt, and sugar to the bowl. Mix 10 sec / speed 4 so the binder is spread evenly instead of forming sticky pockets later.
Add cold fat. Add the cold butter and pulse 8 sec / speed 5, then check the texture. You want pea-sized pieces, not a smooth paste.
Add liquid gradually. Pour in most of the liquid, then mix 8 sec / speed 3. Stop as soon as the dough begins to clump. If it still looks dry, add a small splash and mix 3 sec / speed 3.
Bring it together. Use the spatula to turn the dough once, then mix 5 sec / speed 3 only if needed. The goal is a dough that holds when squeezed, not one that looks glossy and wet.
Rest the dough. Tip it onto parchment, flatten it into a disk, wrap it, and chill it 30 minutes. That rest gives the starches and hydrocolloids time to absorb water and settle.
What the dough should look like
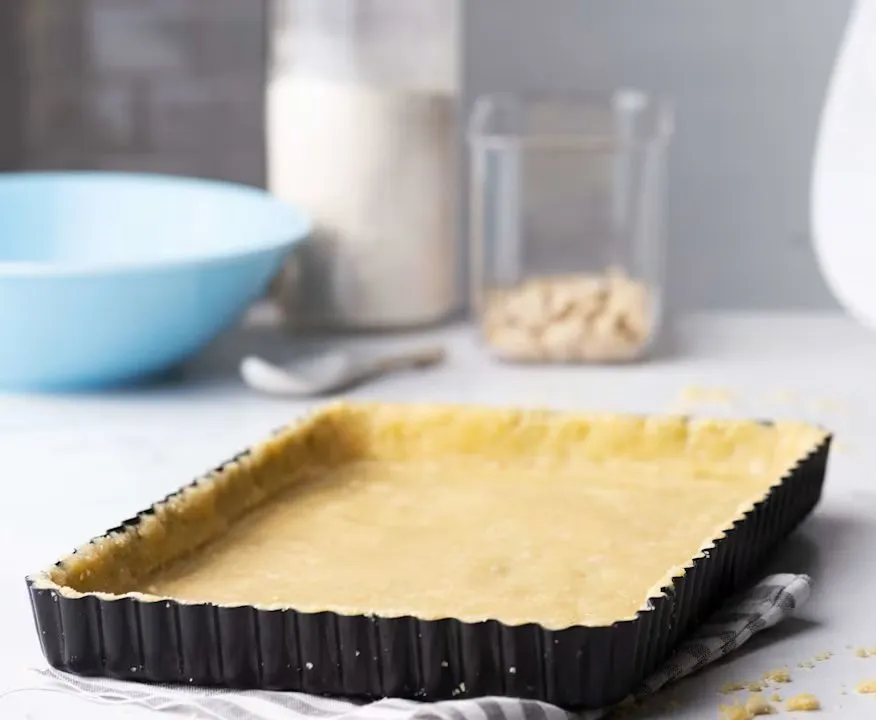
It should feel cohesive but not sticky. If it cracks badly when you press it, it probably needs a little more hydration or a longer rest. If it smears like paste, it is too wet or overmixed. Small changes matter here, so keep the first batch simple and resist the urge to freestyle like the dough owes you money.
For more recipe-driven Thermomix ideas in the same style, I keep this Thermomix recipe collection handy when I want a familiar workflow.
Hydration Resting and the Dough Feel Test
Hydration is the control knob in gluten-free pastry. Flour and starch don't all drink water the same way, and hydrocolloids compete for that water too, which is why a dough can feel perfect in the bowl and still turn stubborn after it sits for a few minutes. Add liquid in stages, then give the dough time to settle before you decide it needs more.
The three-batch test
If you want to find your kitchen's sweet spot, make three small batches:
Base batch: use the recipe as written.
Slightly drier batch: reduce the liquid by about 5% of flour weight.
Slightly wetter batch: increase the liquid by about 5% of flour weight.
Compare how each one rolls, how much it shrinks, how thick it bakes, how easily it fractures, and how it feels the next day. That tells you more than any guess ever will. Record the dough temperature, the resting time, and the bake time, because those can change the result without warning.
Reading the dough
A rolled pastry should be pliable, not glossy and paste-like. If it cracks at the edges, it usually needs more hydration or a longer rest. If it feels gummy, the problem is often too much liquid, too much binder, or underbaking. I know, pastry loves drama, but the clues are usually right there in front of you.
If the dough seems sticky in the first minute, don't panic and dump in more flour right away. Let it rest first, then decide.
That one habit prevents a very common failure mode, which is turning a sticky dough into a dry, brittle crust by accident. Patience is boring, but it's useful.
A Celiac Safe Setup for a Shared Kitchen
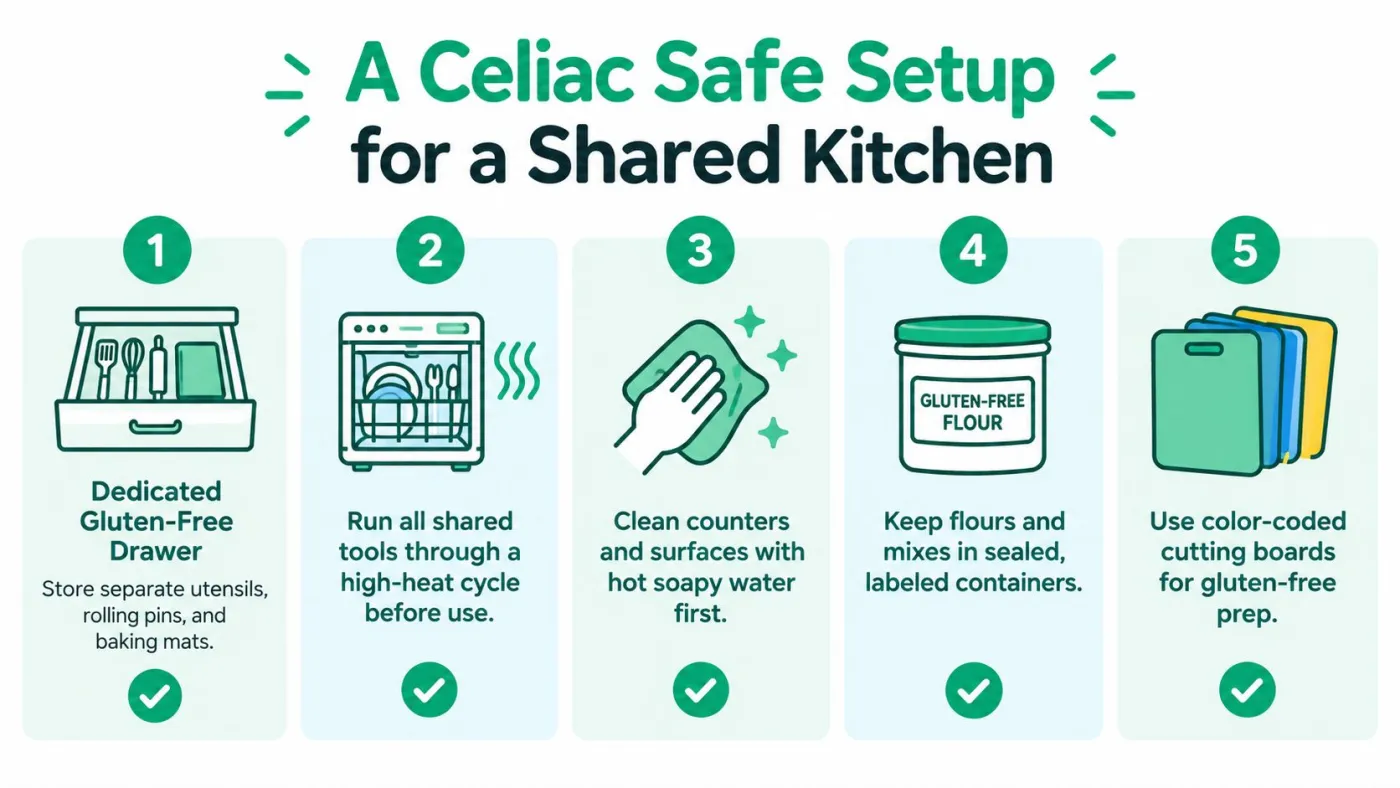
A pastry can be made without wheat and still be unsafe for someone with celiac disease if the kitchen isn't set up carefully. Gluten can move from wheat, rye, or barley foods to otherwise safe ingredients through shared tools, crumbs, or surfaces. That's why a celiac-safe workflow is not a nice extra, it's the whole point.
The setup that makes sense
Dedicated storage: Keep gluten-free flours, starches, and mixes in sealed, labeled containers.
Clean tools first: Use utensils, rolling pins, and mats that are dedicated or thoroughly cleaned before gluten-free prep.
Shared surfaces: Wipe counters with hot soapy water before anything touches them.
Dishwasher cleanup: Run shared tools through a high-heat cycle before using them for gluten-free pastry.
Board discipline: Use color-coded boards so gluten-free prep has a clear zone.
The FDA's gluten-free standard is still less than 20 ppm, but the rule doesn't require testing every ingredient or every finished product, so the person making the pastry still carries the responsibility for the setup. That's why I'd treat shared-facility label language as something to look at carefully, especially when the pastry is for a family member with celiac disease.
If your kitchen can't stay reliably separate, that's not a failure. It's just a signal that this is the wrong place for that specific pastry.
Rolling Baking and Fixing the Usual Problems
Roll the dough between two sheets of parchment so you don't keep adding extra flour. Extra flour sounds helpful until it dries the dough out and makes the edges crack when you lift or crimp it. Once it's shaped, move it onto a fully preheated tray in the oven and don't keep opening the door early, because gluten-free pastry doesn't have a gluten network to save it if it collapses.
The first bake is often a calibration run. That's not me being soft, that's just how pastry works when the dough is new to your kitchen and your ingredients.

Quick Fixes for Common Gluten Free Pastry Problems | ||
|---|---|---|
Symptom | Likely Cause | Quick Fix |
Cracking at the edges | Too little hydration or not enough resting | Rest the dough longer before rolling, then add a small amount of liquid next batch |
Gumminess | Too much liquid, too much binder, or underbaking | Reduce the liquid slightly and bake a little longer until the texture sets |
Shrinkage in the oven | Dough was overworked or not chilled enough | Chill the shaped pastry before baking and handle it less during rolling |
For a different pastry format that uses a similar calm, stepwise approach, this raisin pastry recipe shows how careful shaping changes the final bake.
If you want one honest sentence from me, it's this. The first batch tells you what your kitchen needs, not whether you're “good” at pastry. If you'd like a live walk-through, IT'S A CHEF! offers hands-on and video help for Thermomix home cooks, and you can visit IT'S A CHEF! to see how the setup, the dough, and the baking all come together in real time.