Thermomix Recipes · October 22, 2026 · 12 min read
Wasabi Mayo Recipe: Quick, Creamy, and Just Spicy Enough
It's sushi bowl night, your rice is ready, and that little tube of green paste in the fridge door is staring at you like a dare. You want creamy heat, not a sinus emergency. I'm Prinal Glassman, an Independent Thermomix® Consultant in Las Vegas, and my motto is, "Thermomix?
On this page
It's sushi bowl night, your rice is ready, and that little tube of green paste in the fridge door is staring at you like a dare. You want creamy heat, not a sinus emergency. I'm Prinal Glassman, an Independent Thermomix® Consultant in Las Vegas, and my motto is, "Thermomix? It's a chef… I'm not!" This wasabi mayo recipe is built for real home cooks who want control. We'll make the mayonnaise first, then add the wasabi at the end so the flavor stays bright instead of disappearing.
Why Make Wasabi Mayo at Home
Store bought wasabi mayo is convenient, but it's a compromise before you open the bottle. Someone else chose the heat level, the acidity, and how long that sauce would sit before you used it. With wasabi, that timeline matters because the punch comes from volatile compounds that fade. A sauce that sat for weeks can taste creamy and green without giving you much real wasabi character.
Homemade fixes that in one move. You build a plain, stable mayonnaise, then decide, spoon in hand, whether tonight needs a gentle warmth for a chicken sandwich or a sharper kick for salmon. That control is the whole point. One base can serve kids, cautious adults, and the person at your table who always asks for extra heat, as long as you add wasabi in small amounts and taste between additions.
The Old Meets New Logic
This pairing makes sense once you know its parts. The commonly cited origin story for mayonnaise places it in 1756 near Port Mahon, while deliberate wasabi farming in Japan traces to approximately 1596 to 1615. Mayonnaise brings the smooth oil and egg emulsion. Wasabi brings sharpness. Together, they soften each other in the best way.
My honest rule: If you can't taste and adjust it, don't serve it. Wasabi products vary too much for blind faith in a squeeze bottle.
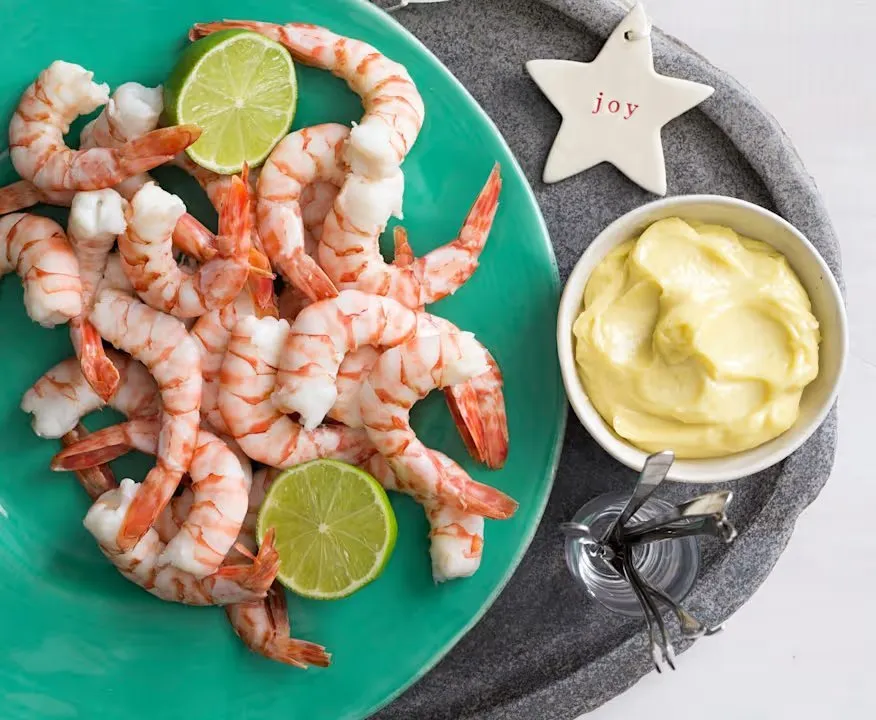
There's also a practical win. You make only what you need for sandwiches, seafood, vegetables, fried foods, or sushi style dishes. You know what's in it. You know it's perishable, so you treat it like food, not shelf decoration. For busy Las Vegas families and home cooks across the USA, that's a small kitchen skill with an outsized payoff.
What You Need Before You Start
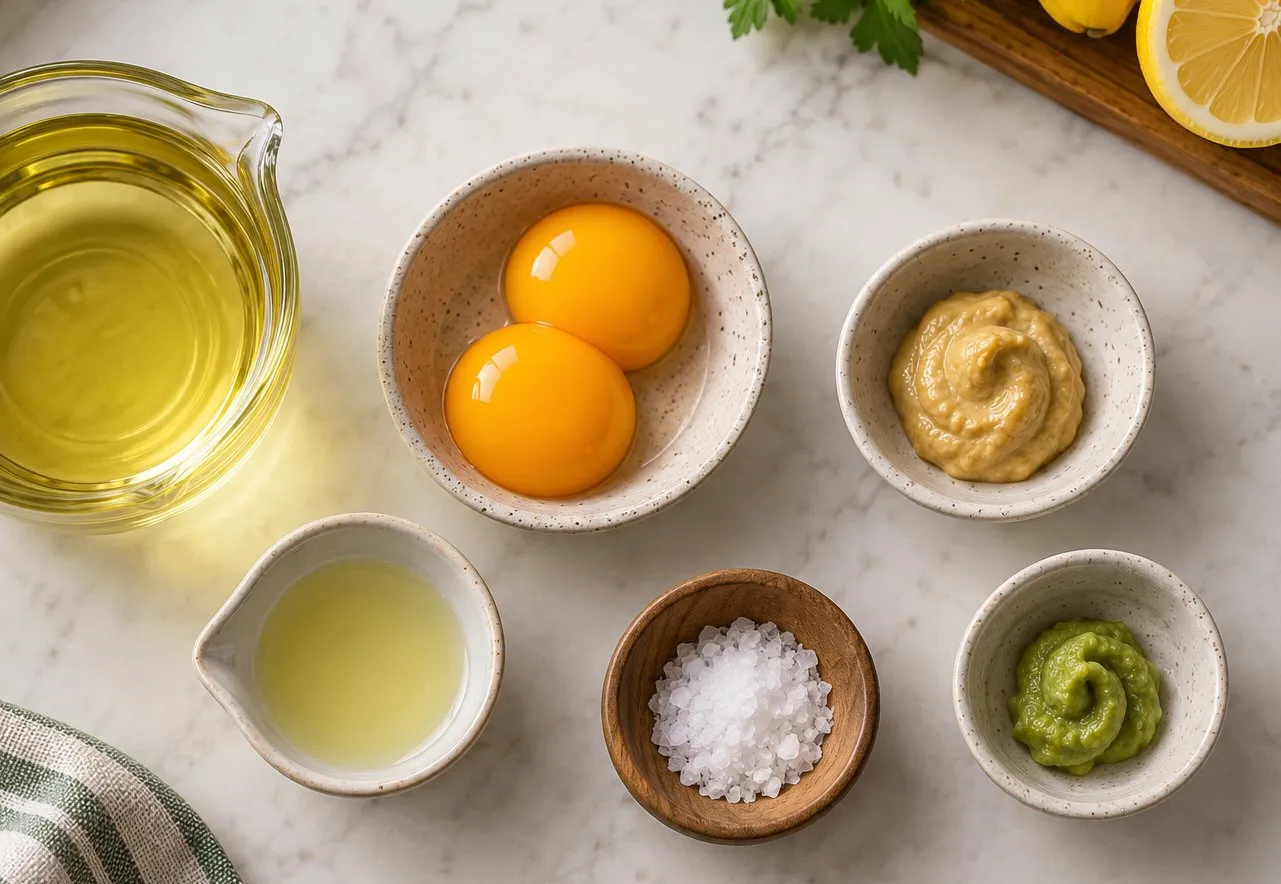
Lay everything out first. This sauce moves quickly once the oil goes in, and rummaging for lemon juice mid emulsion is how good intentions turn thin. Use room temperature ingredients for the base. That simple habit helps the egg yolks hold the oil in a smooth, spoon coating emulsion.
Ingredients for the Base
Pasteurized egg yolks: 2 large yolks. These are your emulsifiers, the part that lets oil and lemon become mayonnaise instead of a separated puddle.
Dijon mustard: 2 teaspoons (10 g). It adds depth, gentle pungency, and helps support the emulsion.
Lemon juice: 1 teaspoon (5 g) to start. Acid brightens the rich base so the finished sauce doesn't taste flat.
Fine salt: ¼ teaspoon (2 g), then adjust. Salt wakes everything up, but you can always add more later.
Grapeseed oil: 1 cup plus 2 tablespoons (250 g). A neutral oil gives body without fighting the wasabi.
Prepared wasabi: Start with 1 teaspoon (5 g). Hold the rest back until you've tasted.
A representative published formula uses 25 grams of wasabi sauce, two egg yolks, two teaspoons of Dijon mustard, one teaspoon of lemon juice, salt, and 250 grams of grapeseed oil. I treat that as the architecture, not a command to dump everything in at once. The oil is the structure. The yolks stabilize it. The wasabi is seasoning, not bulk.
That same recipe reports 177 kilocalories and 19.4 grams of fat per serving, with 66.7 milligrams of sodium, 1 gram of carbohydrate, and 0.4 grams of protein per serving in its nutrition listing. Your numbers will change with oil, serving size, and the wasabi product you buy, so use those figures as a benchmark for planning, not a promise.
Check the Wasabi Label
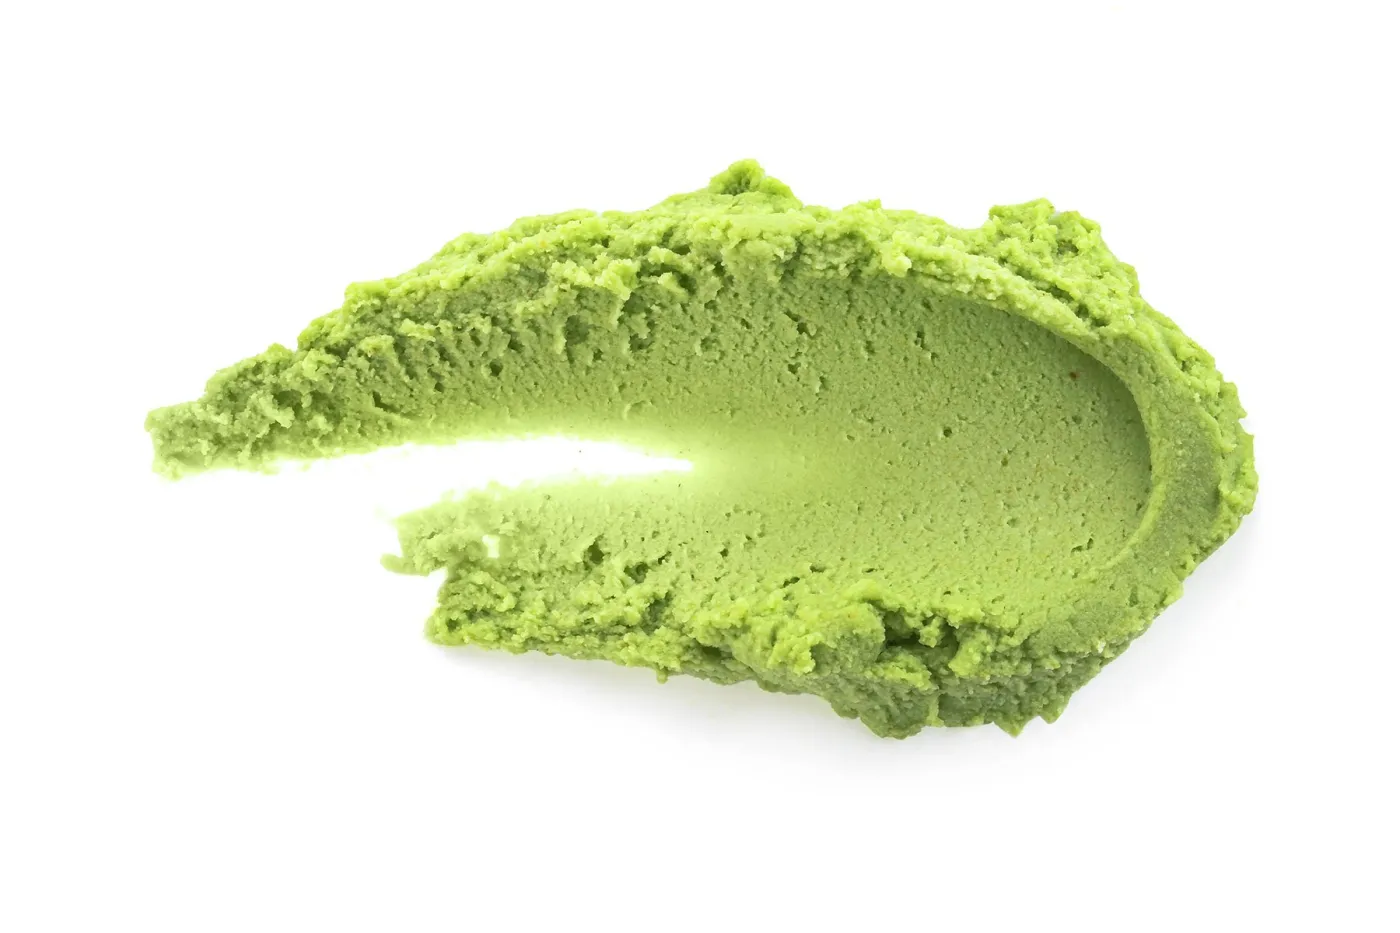
Green color proves nothing. Many tubes rely mostly on horseradish and mustard for heat, so read the ingredient list before you measure. If it's a horseradish based paste, expect a sharper, more persistent bite and start small. If it's powder, you'll reconstitute it first. We'll get to that timing next, because it changes everything.
Building the Mayo in the Thermomix TM7
Start with the aqueous ingredients, not the oil. Add the 2 pasteurized egg yolks, 2 teaspoons (10 g) Dijon mustard, 1 teaspoon (5 g) lemon juice, and ¼ teaspoon (2 g) salt to the bowl. Mix 10 sec / room temperature / speed 4. You want a uniform, pale yellow base with no streaks of mustard sitting at the bottom.
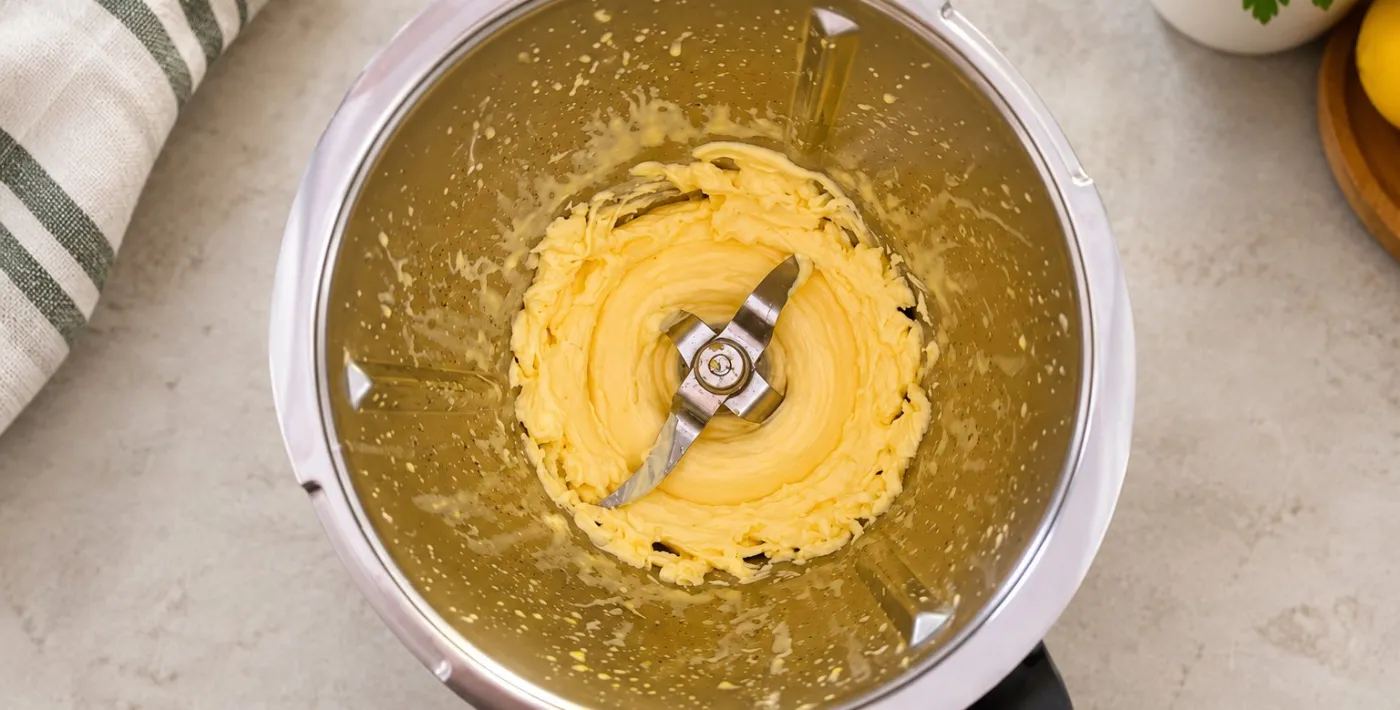
Now slow down. Mayonnaise is won or lost here. With the lid cap in place, run 2 min / room temperature / speed 5 and drizzle the 1 cup plus 2 tablespoons (250 g) grapeseed oil through the opening in a thin, steady stream. Don't rush the first pour. The yolk needs time to grab tiny oil droplets and hold them. If oil floods in faster than the emulsion can form, the droplets get too large and the sauce can split.
What You Should See
Early stage: The mixture looks loose and glossy. That's normal. Keep the stream thin.
Middle stage: The sound softens and the surface turns opaque. The emulsion is taking hold.
Finished stage: The mayonnaise looks thick, smooth, and spoon coating, with soft peaks that slowly settle.
Scrape down the sides of the bowl once the oil is in. Mix again 10 sec / room temperature / speed 4 to bring any stray oil or lemon into the base. Taste now, before wasabi enters the chat. Add lemon juice or salt by the teaspoon or pinch, then mix 5 sec / room temperature / speed 3. If the mayonnaise feels too thick to drizzle, add water 1 teaspoon (5 g) at a time. A tiny splash restores flow without watering down the flavor in any meaningful way.
Don't chase a perfect drizzle before the wasabi goes in. Get the base stable and seasoned first, because a broken emulsion can't be rescued by more heat.
The Thermomix® TM7™ is an all in one smart kitchen appliance from Thermomix. It weighs, chops, blends, cooks, steams and kneads in one 2.2 liter bowl, with a 10 inch touchscreen that guides you through 100,000+ Cookidoo recipes step by step. For this recipe, that means weighing and emulsifying happen in the same bowl, with no juggling act while you pour oil.
If you're still building confidence with sauces, browse the Thermomix recipe collection for more guided ideas after this batch. For now, trust the sequence. Combine, emulsify, scrape, taste. The base should taste good enough to eat plain. If it doesn't, fix it before adding wasabi, because heat can't hide a dull mayonnaise.
Adding the Wasabi the Right Way
Wasabi isn't like chili heat that sits on your tongue and settles in. When plant cells are crushed or grated, myrosinase acts on glucosinolates and generates pungent isothiocyanates, the volatile compounds behind that fresh, sinus clearing punch. Those compounds fade over time, especially in aqueous conditions. That's why timing beats quantity in this wasabi mayo recipe.
Fold wasabi into mayonnaise that's already emulsified. Add 1 teaspoon (5 g) prepared wasabi to the finished base and mix 15 sec / room temperature / speed 3. Taste. Then increase in ¼ teaspoon increments, mixing 5 sec / room temperature / speed 3 after each addition. A useful starting benchmark is roughly 1 teaspoon wasabi per ½ cup (120 g) mayonnaise, but commercial pastes vary so much that tasting isn't optional. It's the method.
Paste, Powder, and Fresh Rhizome
Prepared paste is already hydrated and ready to measure, which makes it the easiest choice for a first batch. Powder is different. It must be mixed with a little cold water and allowed to rest briefly according to its product instructions before it develops full pungency. Don't swap powder for paste one to one and hope for the best. The liquid and concentration change, and so does your sauce.
Fresh rhizome is the special occasion option, and it's demanding for a reason. Real wasabi needs continuously flowing spring water, cool conditions, heavy shade, and a long wait before harvest. Its heat, driven largely by allyl isothiocyanate, tastes cleaner but fades quickly, with reports placing the strongest effect at roughly 15 to 20 minutes after grating. One listed tube example contains 31% horseradish and only 4.5% wasabi, which explains why an imitation product can taste hotter for longer than the genuine article.
The contrarian part: Authentic doesn't automatically mean hotter. Fresh wasabi can taste brighter and cleaner, while a horseradish based tube can hit harder and linger.
Keep heat away from authentic wasabi if you want that fresh lift. Guidance reports that temperatures above 140°F can denature myrosinase and drive off active compounds. So add this sauce to warm food at serving time, don't cook it into the dish, and never reheat the finished mayo to fix weak flavor. Refresh it with a tiny fresh addition instead.
For egg safety, I use pasteurized yolks for a from scratch base. The FDA identifies homemade mayonnaise as a food that can contain raw eggs and advises eggs treated to destroy Salmonella when the egg is served raw or undercooked. Clean and uncracked isn't the same as pasteurized. Make that choice on purpose, especially when you're feeding family.
Easy Flavor Variations to Try
Once your base works, variations are seasoning decisions, not new recipes. Split a batch into small containers and steer each one. Add liquids a little at a time, because rice vinegar, citrus, and soy can sharpen flavor fast and thin the texture if you get generous. Mix each variation 10 sec / room temperature / speed 3, scrape down, taste, then stop while you're ahead.
Wasabi Mayo Variations at a Glance
Variation | Add Ins Per 1 Cup Mayo | Best Paired With |
|---|---|---|
Classic sushi style | 1 teaspoon (5 g) soy sauce plus 1 teaspoon (5 g) rice vinegar | Salmon bowls, tuna, cucumber rolls |
Spicy sandwich | 1 teaspoon (5 g) sriracha plus ½ teaspoon (3 g) lemon juice | Chicken sandwiches, turkey wraps, fries |
Citrus lift | 1 teaspoon (5 g) yuzu juice or lemon juice plus a pinch of lemon zest | Shrimp, white fish, steamed vegetables |
Honey ginger | 1 teaspoon (7 g) honey plus ½ teaspoon (2 g) grated fresh ginger | Grilled salmon, chicken, roasted carrots |
Dill and caper | 1 tablespoon (4 g) chopped dill plus 1 teaspoon (5 g) chopped capers | Crab cakes, salmon patties, potato salad |
Start with the classic if you're unsure. Soy adds savoriness, rice vinegar adds lift, and the wasabi still gets to lead. The spicy sandwich version is louder and more forgiving on hearty breads and fried fillings. Citrus is my pick when seafood is delicate and you want brightness without burying the fish. Honey ginger softens the edges and works beautifully when the main dish has caramelized surfaces.
If you like building a small sauce library, my red pepper coulis recipe gives you a sweet, vivid counterpoint for the same seafood and grain bowl meals. Keep the rules consistent across variations. Season the base, add wasabi late, add extra liquid slowly, and taste after every change. A sauce you can steer is more useful than five separate bottles taking up fridge space.
Sandwiches, Sushi Bowls, and Beyond
Match the sauce to the food's ability to handle heat. A cold chicken sandwich can take a confident spread because bread, protein, and crunchy vegetables dilute each bite. Spread 1 tablespoon (15 g) across the bread, then add cucumber or shredded cabbage for freshness. The mayonnaise carries the heat evenly instead of ambushing you in one spot.
Salmon sushi bowls want a drizzle, not a blanket. Spoon the sauce into thin lines over warm rice, salmon, avocado, and cucumber right before serving. The food is warm, not piping hot, and that's the right window. You'll get creaminess plus lift without cooking the life out of the wasabi. For background on pairing the sharp and pickled sidekicks properly, read about sushi ginger and wasabi.
Spread, Drizzle, or Dip
Spread it: Sandwiches, wraps, burgers, and rice cakes. A thin, even layer gives every bite the same balanced heat.
Drizzle it: Grain bowls, seared tuna, salmon, and roasted vegetables. Lines of sauce let eaters choose more or less in each forkful.
Dip it: Tempura style vegetables, fries, shrimp, and chicken tenders. Serve it cold and thick so it clings instead of sliding off.
Know when to leave it off. Very delicate raw fish often wants a cleaner, sharper hit of plain wasabi, not a creamy layer that coats the palate. Wasabi mayo shines when food benefits from richness, like fried items that need acid and heat, or plain proteins that need help. It struggles when the main ingredient is subtle and expensive and you're paying to taste exactly that subtlety.
For vegetables, use contrast. Sweet carrots, cucumbers, and steamed green beans give the heat somewhere friendly to land. For seafood patties and leftover rice, the dill and caper variation turns yesterday's odds and ends into lunch with intention. That's how this condiment earns fridge space. It isn't a one dish trick. It's a small jar of options.
Storage, Make Ahead, and Quick Answers
Treat fridge time as a flavor decision, not just a safety one. Wasabi's punch fades fast, so how you store this sauce decides whether day two tastes like day one or like plain mayo with ambition issues. Move it into a clean, covered container and refrigerate it right away. USDA guidance says perishable food should be refrigerated within two hours, or within one hour above 90°F, and cold food held at 40°F or below. That two hour limit counts every minute the jar sits out while you eat, so put it back in the cold between rounds.
My honest recommendation: build the plain mayo base a day ahead, then stir in fresh wasabi close to serving. Resting helps the acid and aromatics settle, but it dulls the pungency you worked for. Because the TM7 weighs and emulsifies in one bowl, you can rebuild a fresh base in minutes whenever the flavor fades, then refresh the wasabi right before food hits the table. Stronger comes from timing. A bigger spoonful just gives you more of a weaker sauce.
Quick Answers
Can I use powder: Yes, if you reconstitute it first and add it gradually. Powder is not a one to one paste swap.
Why is mine thin: The oil went in too fast, or you used too much liquid seasoning. Next batch, slow the pour and add acid in smaller increments.
Can I start with store bought mayo: Yes for speed, and commercial mayonnaise generally uses pasteurized eggs. Add the wasabi late and taste as you go.
Why did the heat fade: The active compounds are volatile. Make the base ahead if you need to, then fold in fresh wasabi before serving.
Ready to make this wasabi mayo recipe your first small win and keep going with guided, family friendly cooking? Visit IT'S A CHEF! to connect with me, Prinal Glassman, for Las Vegas friends night demonstrations, video calls anywhere in the USA, purchase guidance, and first meal setup help. Weeknight cooking feels a whole lot easier when the chef is on your counter and I'm in your corner.